Getting Started
So you’ve just installed MissionView and now you want to use it to talk to your server(s). First let’s start with a couple comfort features.
Global Settings
From the main menu, open Options -> Settings. You can also get there by right-clicking anywhere on the empty desktop and choosing Settings.
- Set the background to a friendly color. Later you may desire to adjust some fonts.
- Click OK
You’ll find many application-level settings in this dialog that are covered in the manual and future Knowledge Center topics.
Add a Server
If you want to manually add your server, click on the main menu Servers -> Add… and fill in the hostname or address of a server. Click OK or just hit <enter> to add the server. The server will automatically get added to the Server Management window that also opened.

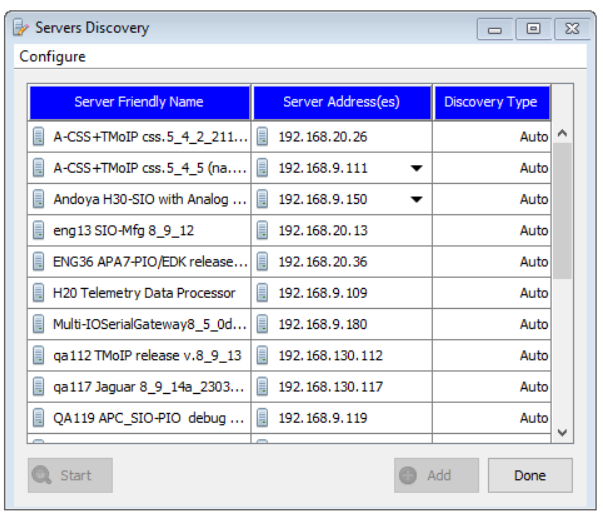
If you have multiple servers, you may select Discover… from the Servers menu. If your servers are online, this feature will auto-detect servers using mDNS. The window will take a moment to start and discover servers on your network. Select servers from the list and click Add.
Navigating Server(s)
Now that you have a server added, you’ll find a menu under Servers.
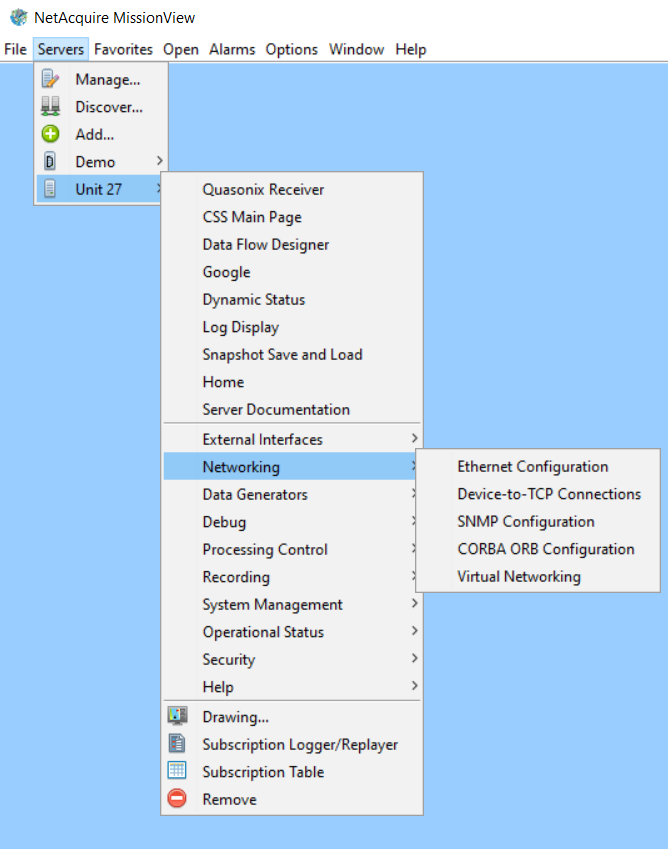
After opening a page on the server (for instance, Ethernet Configuration), you’ll see some common controls that appear in many windows.

Navigation
You can click the Reload button to reload the entire page from scratch.

Some pages offer navigation controls that allow you to go forward/back.

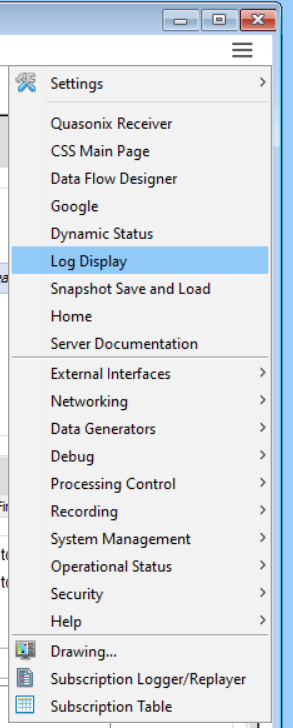
Hamburger Menu

Known as a hamburger menu and found at the upper-right, this control has context-sensitive links and options. If the window is open to a server, you’ll also find that server’s menu here.
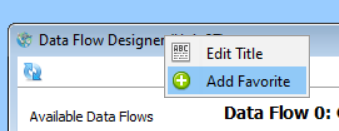
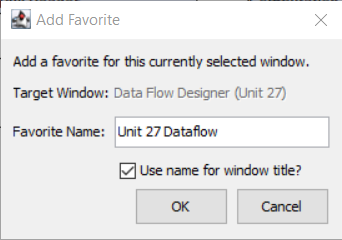
Favorites
If you commonly visit specific pages on a server, you may choose to add a Favorite. Just right-click the top of some page and choose Add Favorite, then customize the name as you like.